A Digital Transformation of Your Weld Inspection Processes
How do you drive down your scrap and rework rates to reduce your Cost of Quality? If you are using outdated methods to collect and analyze your weld quality data, making a real impact is difficult.
Adding value to a defective structure means added costs to repairs or scrap. Welds often involve safety as well and must be correct. As a supplier to an OEM, shipping non- conformances on a welded subassembly means an expensive exercise in sorting, corrective action procedures and time.
ATS Inspect software gives you a flexible tool for collecting both non destruct and destructive weld data. With real time alerts and analysis, you have everything you need to reduce your scrap and rework.
Weld Inspection software for companies that want to use their data, not just collect it.
Benefits at Every Stage
Paperless
Eliminate paper weld inspection forms and the wasted time and errors in transcription.
Complete Weld Solution
Record all your weld destruct data and visual weld inspection information in one place.
Real-time Analysis
Access real-time analysis and configure automated alerts to reduce your Cost of Quality.
Manual Weld Inspections
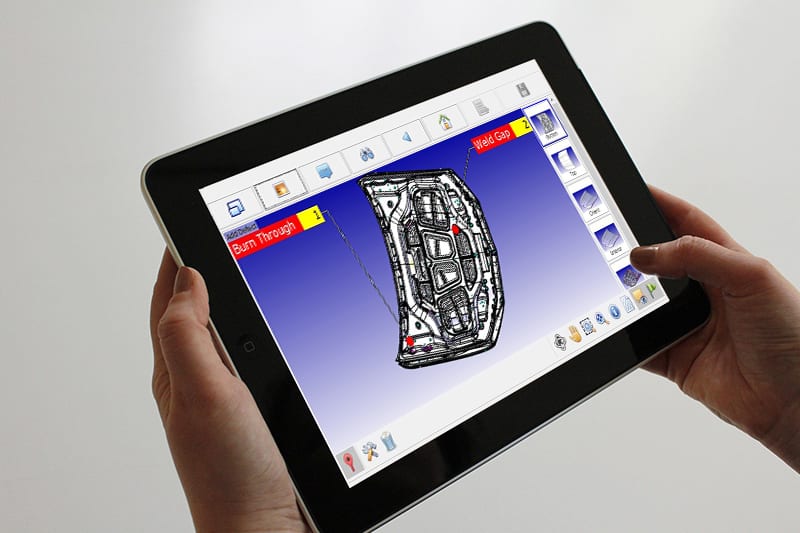
Using a tablet or PC, inspectors place weld and metal defects against a live CAD image “Digital Twin” or weld map graphic of your assembly. The software captures the exact spot weld, seam weld location, rivnut, rivstud or other joint with a defect. Both the exact location and the defect are stored.
Welds can be designated as safety or critical welds.
Inspectors can also enter comments, access work instructions and standards reference forms. A digital photo can be taken of the defect and attached to the inspection record.
ATS Inspect eliminates the wasted man hours and unnecessary errors produced when transcribing paper tic sheets and inspection forms.
Automated Inspections
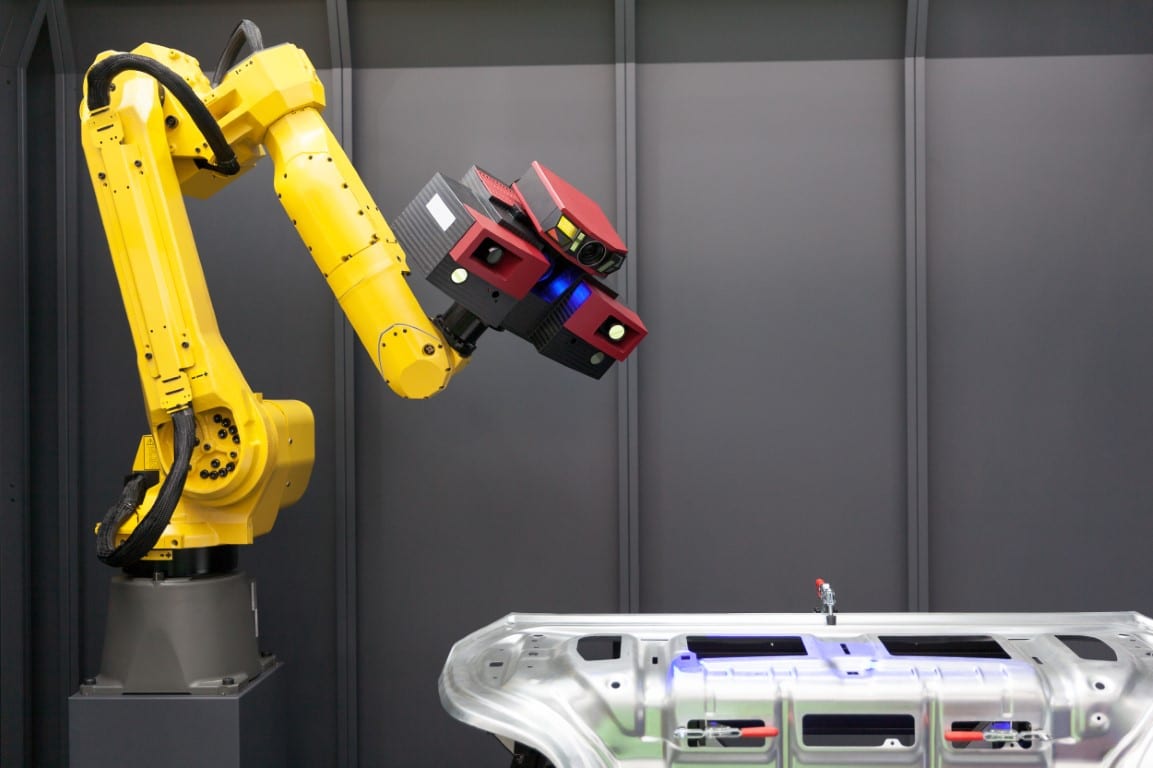
ATS Inspect links to your shop floor equipment so that it can report and analyse the results from your automated test equipment alongside your manual inspections.
By integrating quality data from all sources, ATS Inspect provides a complete overview of your plant quality whilst also allowing you to view the complete inspection history of each individual unit.
Digital Checklist
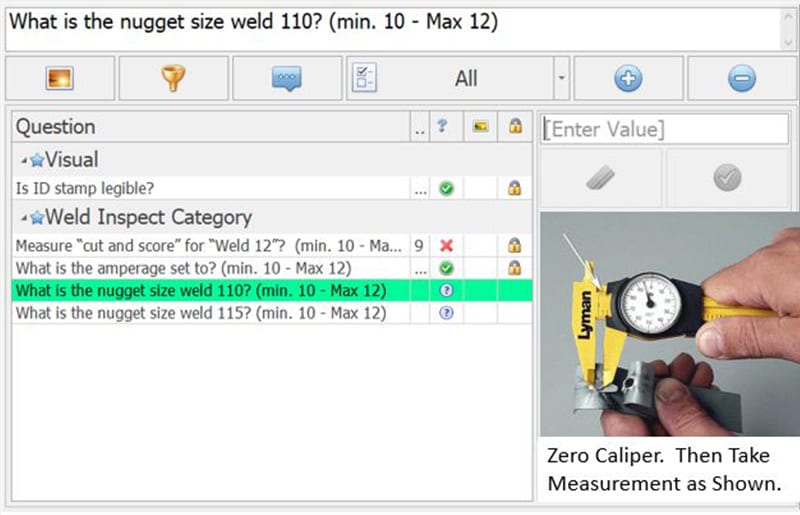
The digital checklist interface guides the user through a list of specific tasks to complete, such as performing a series of nugget size/cut and score measurements for destruct audits.
Measurements can be keyed in or sent electronically from a digital caliper or other device.
Measurements that are out of spec are automatically highlighted.
Real-Time Reporting and Analysis
You can access web based reports such as pareto charts of your top defect producing assemblies, top defective welds and top defect types. The software stores an individual unit inspection record of each assembly and provides other valuable analysis on a real time basis.
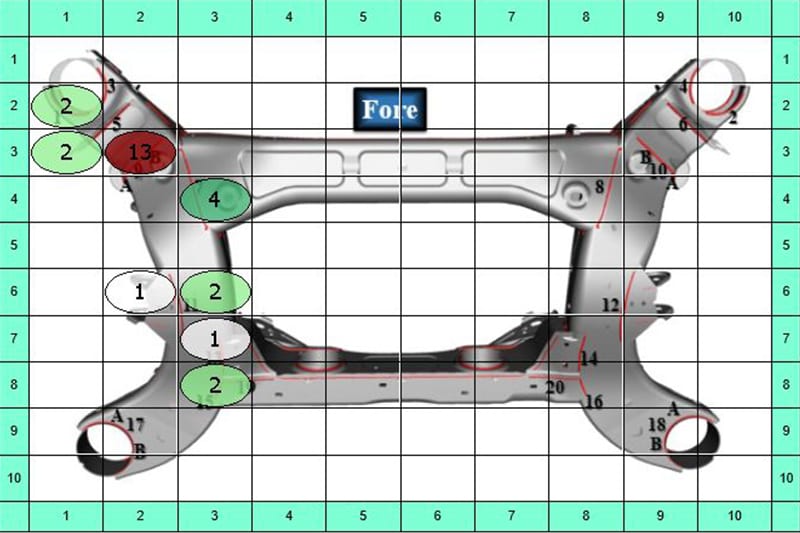
ATS Inspect also provides aggregate reports that take multiple inspection records for a given assembly and instantly overlay all the defects entered against a Digital Twin of that assembly to produce defect maps, scatter diagrams and concentration diagrams. You can easily see where to focus your efforts to reduce your scrap, rework and Cost of Quality.
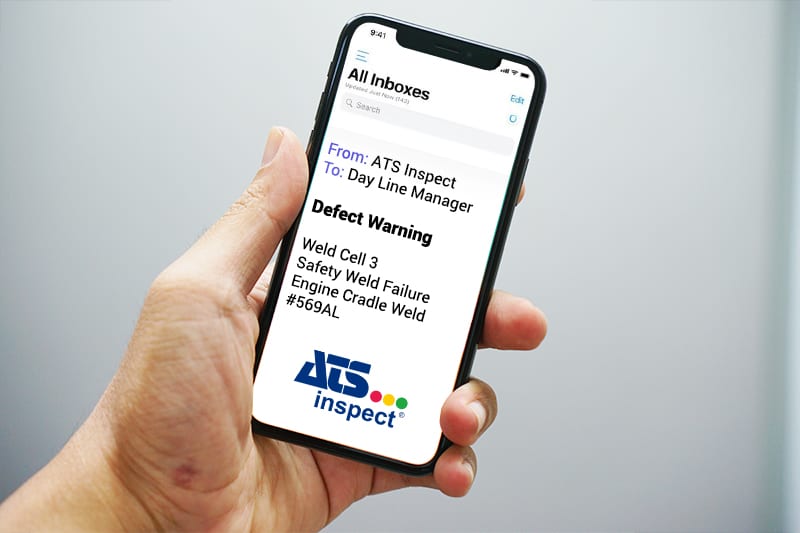
Quality Alerts
Let the right people know right away when quality issues arise such as a series of units with missing or defective safety welds. Automated emails and live information on overhead displays on the factory floor allow action to be taken immediately.
By closing the feedback loop to the source of an issue in real time, ATS Inspect reduces non-conforming material in your Work In Process and drives long term process improvement.
Let’s talk! Enter your info below
and we will contact you to discuss your application


